Migrating a Docker container from docker run to Docker Compose: complete guide

Docker has become essential in application deployment. But many developers and system administrators start their journey with simple docker run commands before realizing the limits of this approach. When infrastructure grows, manual management quickly becomes unmanageable. This is where Docker Compose emerges as a key tool.
In this guide, we will see how to migrate a Docker container launched with docker run into a docker-compose.yml file, step by step. The goal: preserve data, structure your environment, and prepare for long-term operations, particularly in professional contexts where compliance and maintenance are crucial.
Why switch from docker run to Docker Compose?
Simplicity has its limits
The docker run command is perfect for quickly testing an image or deploying an isolated service. But as soon as you need to manage multiple containers, configure dependencies (database, reverse proxy, persistent storage), or maintain consistency across environments, its weaknesses appear.
The advantages of Docker Compose
With Docker Compose, you describe your services in a readable and versionable YAML file. This allows you to:
- document and share the configuration,
- ensure reproducibility across machines,
- avoid mistakes caused by manually typed commands,
- easily manage volumes, networks, environment variables.
As highlighted in the official Docker documentation, Compose is not just a convenient tool, it is also a best practice for industrializing deployments.
Example of a docker run command
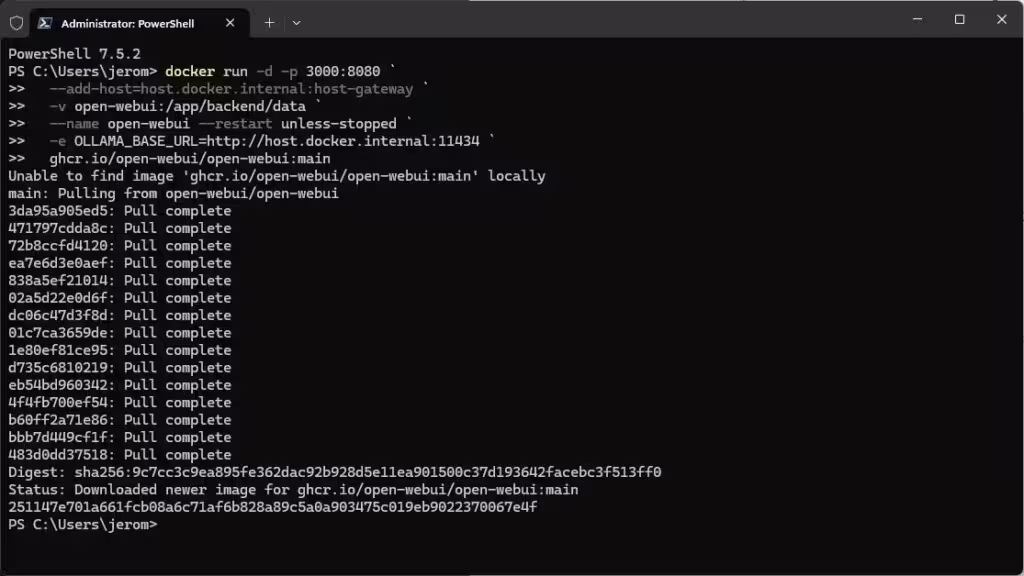
Let’s take a concrete case with Open WebUI:
docker run -d -p 3000:8080
  --add-host=host.docker.internal:host-gateway
  -v open-webui:/app/backend/data
  --name open-webui
  --restart always
  ghcr.io/open-webui/open-webui:main
This command launches the service, maps a port, adds a special host, mounts a named volume, and sets automatic restart.
Problem: this line is hard to read, impossible to version effectively, and complicated to replicate on another workstation or server.
Conversion to docker-compose.yml
Here is the minimalist equivalent in docker-compose.yml:
services:
  open-webui:
    image: ghcr.io/open-webui/open-webui:main
    container_name: open-webui
    restart: always
    ports:
      - "3000:8080"
    extra_hosts:
      - "host.docker.internal:host-gateway"
    volumes:
      - open-webui:/app/backend/data

volumes:
  open-webui:
    external: true
Some key points:
- The named volume open-webui is declared as external to reuse the one already created by docker run.
- Existing data will not be lost.
- The file can be versioned in Git, shared with a team, or integrated into a CI/CD pipeline.
Migrate an existing container without data loss
If you already have an open-webui container running with docker run, you need to:
- Stop the container
docker stop open-webui - Remove the container without touching the volume
docker rm open-webui⚠️ Do not use -v, otherwise the volume will be deleted. - Check that the volume still exists
docker volume ls | grep open-webui - Restart with Compose
docker compose up -d
The data is preserved because it is stored in the named volume.
Where to store your docker-compose.yml files?
The convention varies depending on the environment:
- For an application project, place the docker-compose.yml file at the root of the repository.
- For global services (databases, reverse proxy, monitoring), it is recommended to centralize in /srv (common on Linux and consistent with the FHS hierarchy).
Example of a directory tree:
/srv/
 ├── open-webui/
 │    └── docker-compose.yml
 ├── web-project/
 │    └── docker-compose.yml
This organization simplifies backups and maintenance.
Updating an image with Docker Compose
Migrating to Compose also brings a huge advantage for updates:
docker compose pull
docker compose up -d
This downloads the new image, recreates the container, and automatically reuses your volumes.
To force recreation even if nothing has changed:
docker compose up -d --force-recreateTo free up space after several updates, it is recommended to run:
docker image pruneBest practices for migration
- Version your Compose files
Use Git to keep history and make collaboration easier. - Separate sensitive variables
Put them in a .env file instead of the YAML. - Test locally before deploying to production
Especially if you are migrating several services at once. - Monitor volume usage
Regularly check for orphan volumes with docker volume ls.
Migrating multiple containers at once
The strength of Docker Compose lies in multi-service management. For example, if your application depends on a PostgreSQL database, you can write:
services:
  web:
    image: ghcr.io/open-webui/open-webui:main
    ports:
      - "3000:8080"
    depends_on:
      - db
    volumes:
      - open-webui:/app/backend/data

  db:
    image: postgres:16
    environment:
      POSTGRES_USER: user
      POSTGRES_PASSWORD: pass
      POSTGRES_DB: mydb
    volumes:
      - pgdata:/var/lib/postgresql/data

volumes:
  open-webui:
    external: true
  pgdata:
Here, you orchestrate application + database with a single docker compose up -d.
Checks before migration
- Image compatibility: some Docker images are optimized for docker run with specific options. Check the image’s official documentation.
- Custom network options: if you were using a –network, adapt it in the YAML file.
- Bind-mounted volumes: if you mounted a local folder (for example /srv/data:/app/data), make sure user permissions are correct.
- Migration to production: some companies require GDPR compliance and traceability. Using Compose simplifies documentation.
Conclusion
Migrating a Docker container from docker run to Docker Compose is not just a technical optimization. It is a key step in moving from individual experimentation to sustainable and collaborative service management. You gain clarity, maintainability, and security, while keeping control of your volumes and therefore your data.
The migration takes only a few minutes, but it provides a long-term framework for your projects, whether personal or professional. For a system administrator or developer, it is a move toward operations aligned with best practices and modern maintenance requirements.
Your comments enrich our articles, so don’t hesitate to share your thoughts! Sharing on social media helps us a lot. Thank you for your support!